Custom Sprites for cellPAINTexo using Mesoscope
This tutorial will walk you through use of Mesoscope to build custom sprites for use in cellPAINTexo
cellPAINTexo and Mesoscope are both currently under active development, so please expect some snags as you’re using them.
Launch a session with Mesoscope, beta version, at http://mesoscope.scripps.edu/beta
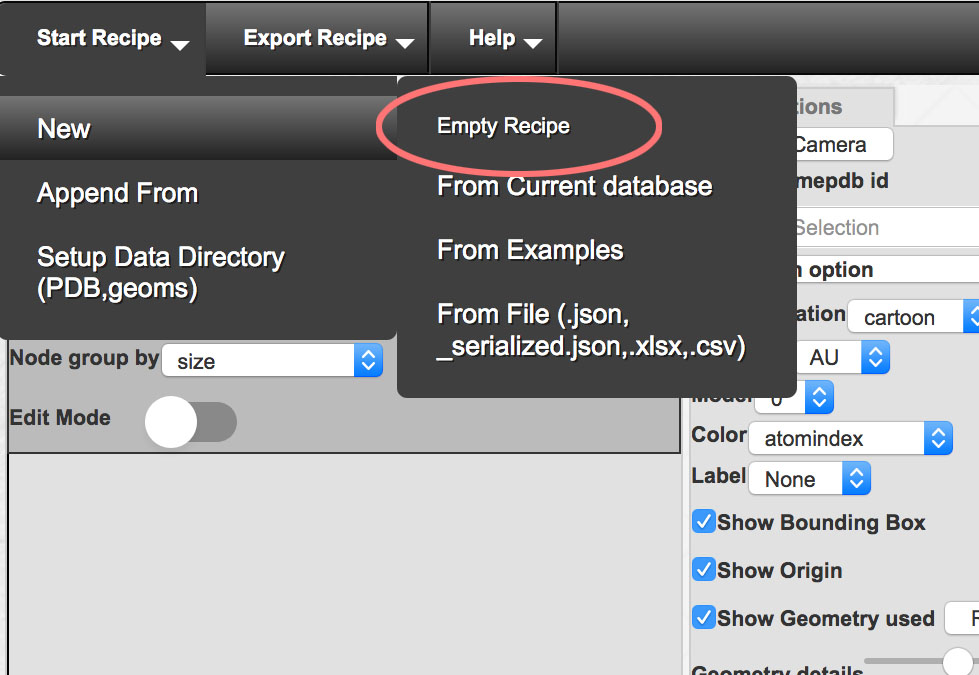
In the “Start Recipe” menu, select New->Empty Recipe
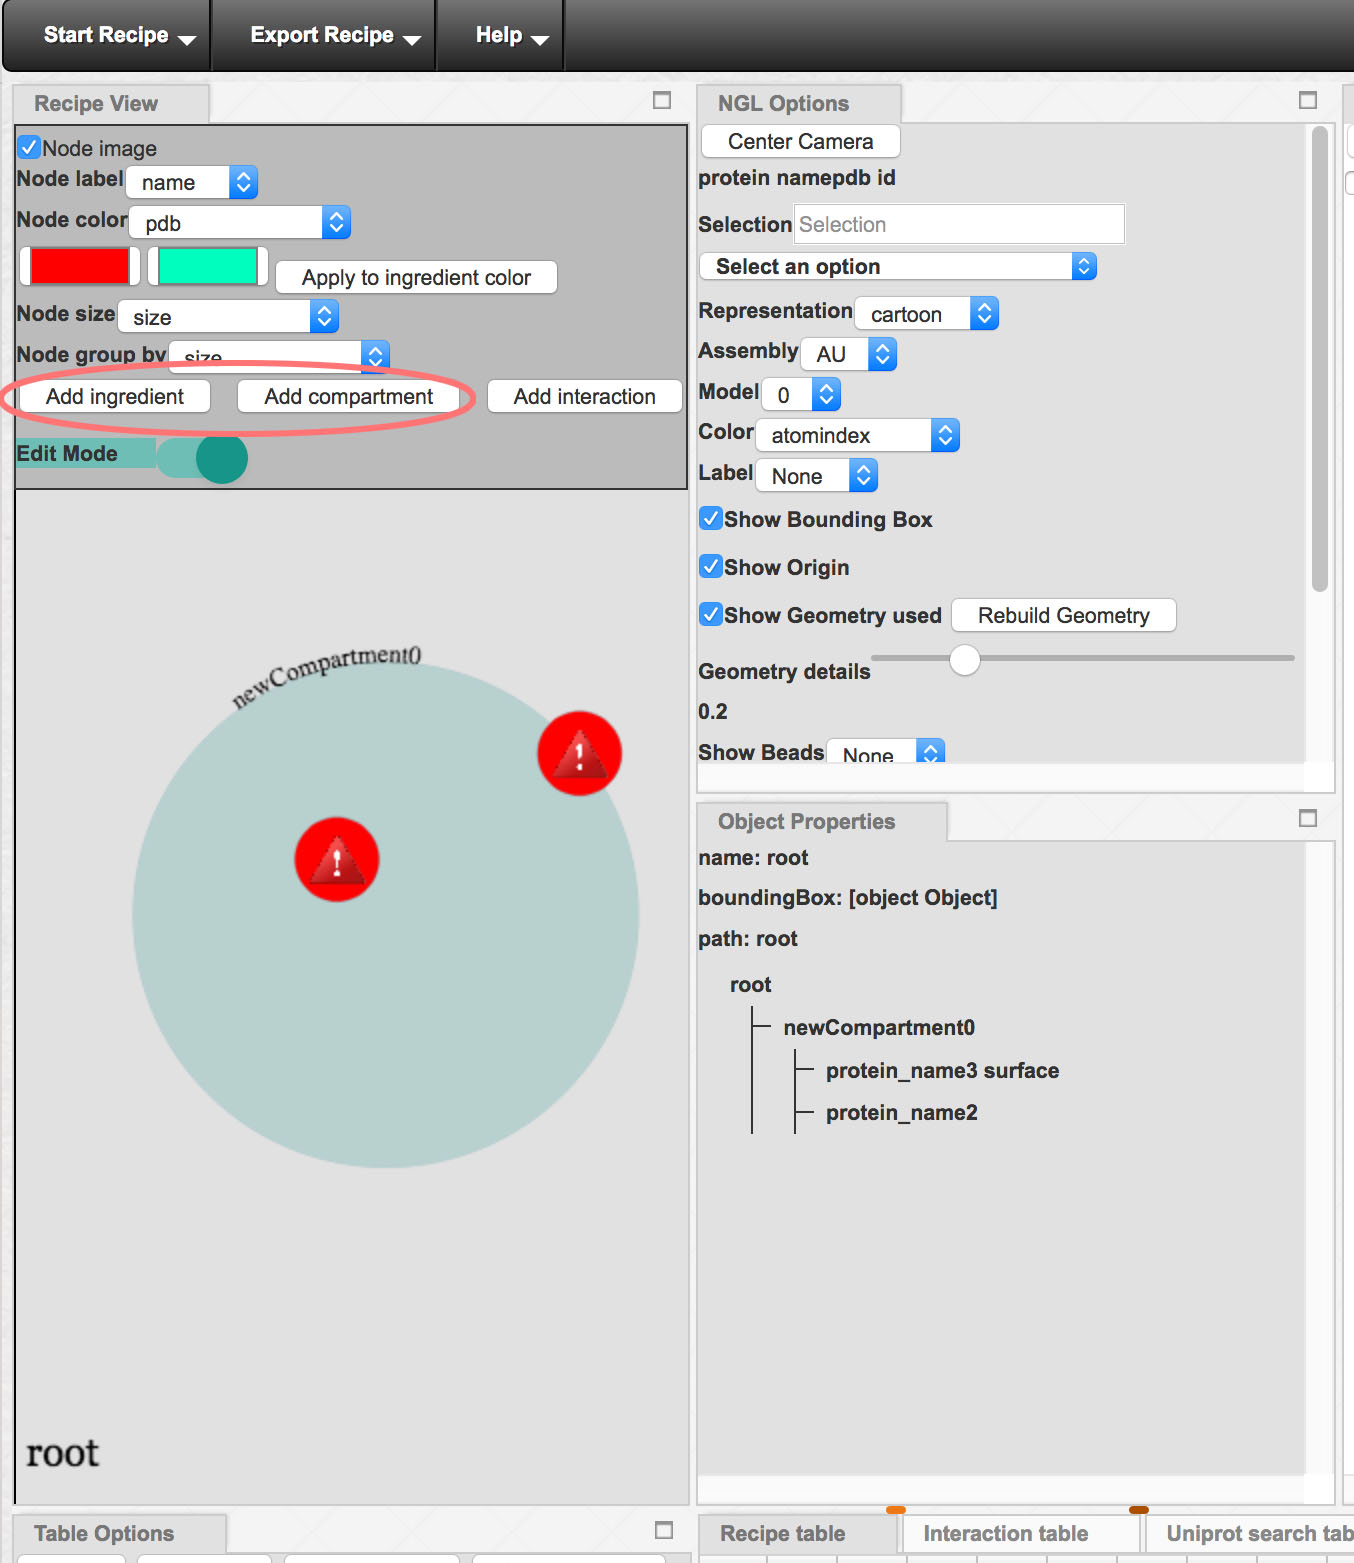
Add a new compartment to recipe, and two new ingredients.
You may need to change the size of the graphical representation with the center wheel on your mouse.
You can also drag elements around on the canvas to change their location. Drag one ingredient inside the compartment, and one on the membrane surrounding the compartment (as shown).
By default, the whole recipe has the name “root” and the compartment has the name “newCompartment0”. You can change names by right click on the background or in the compartment.
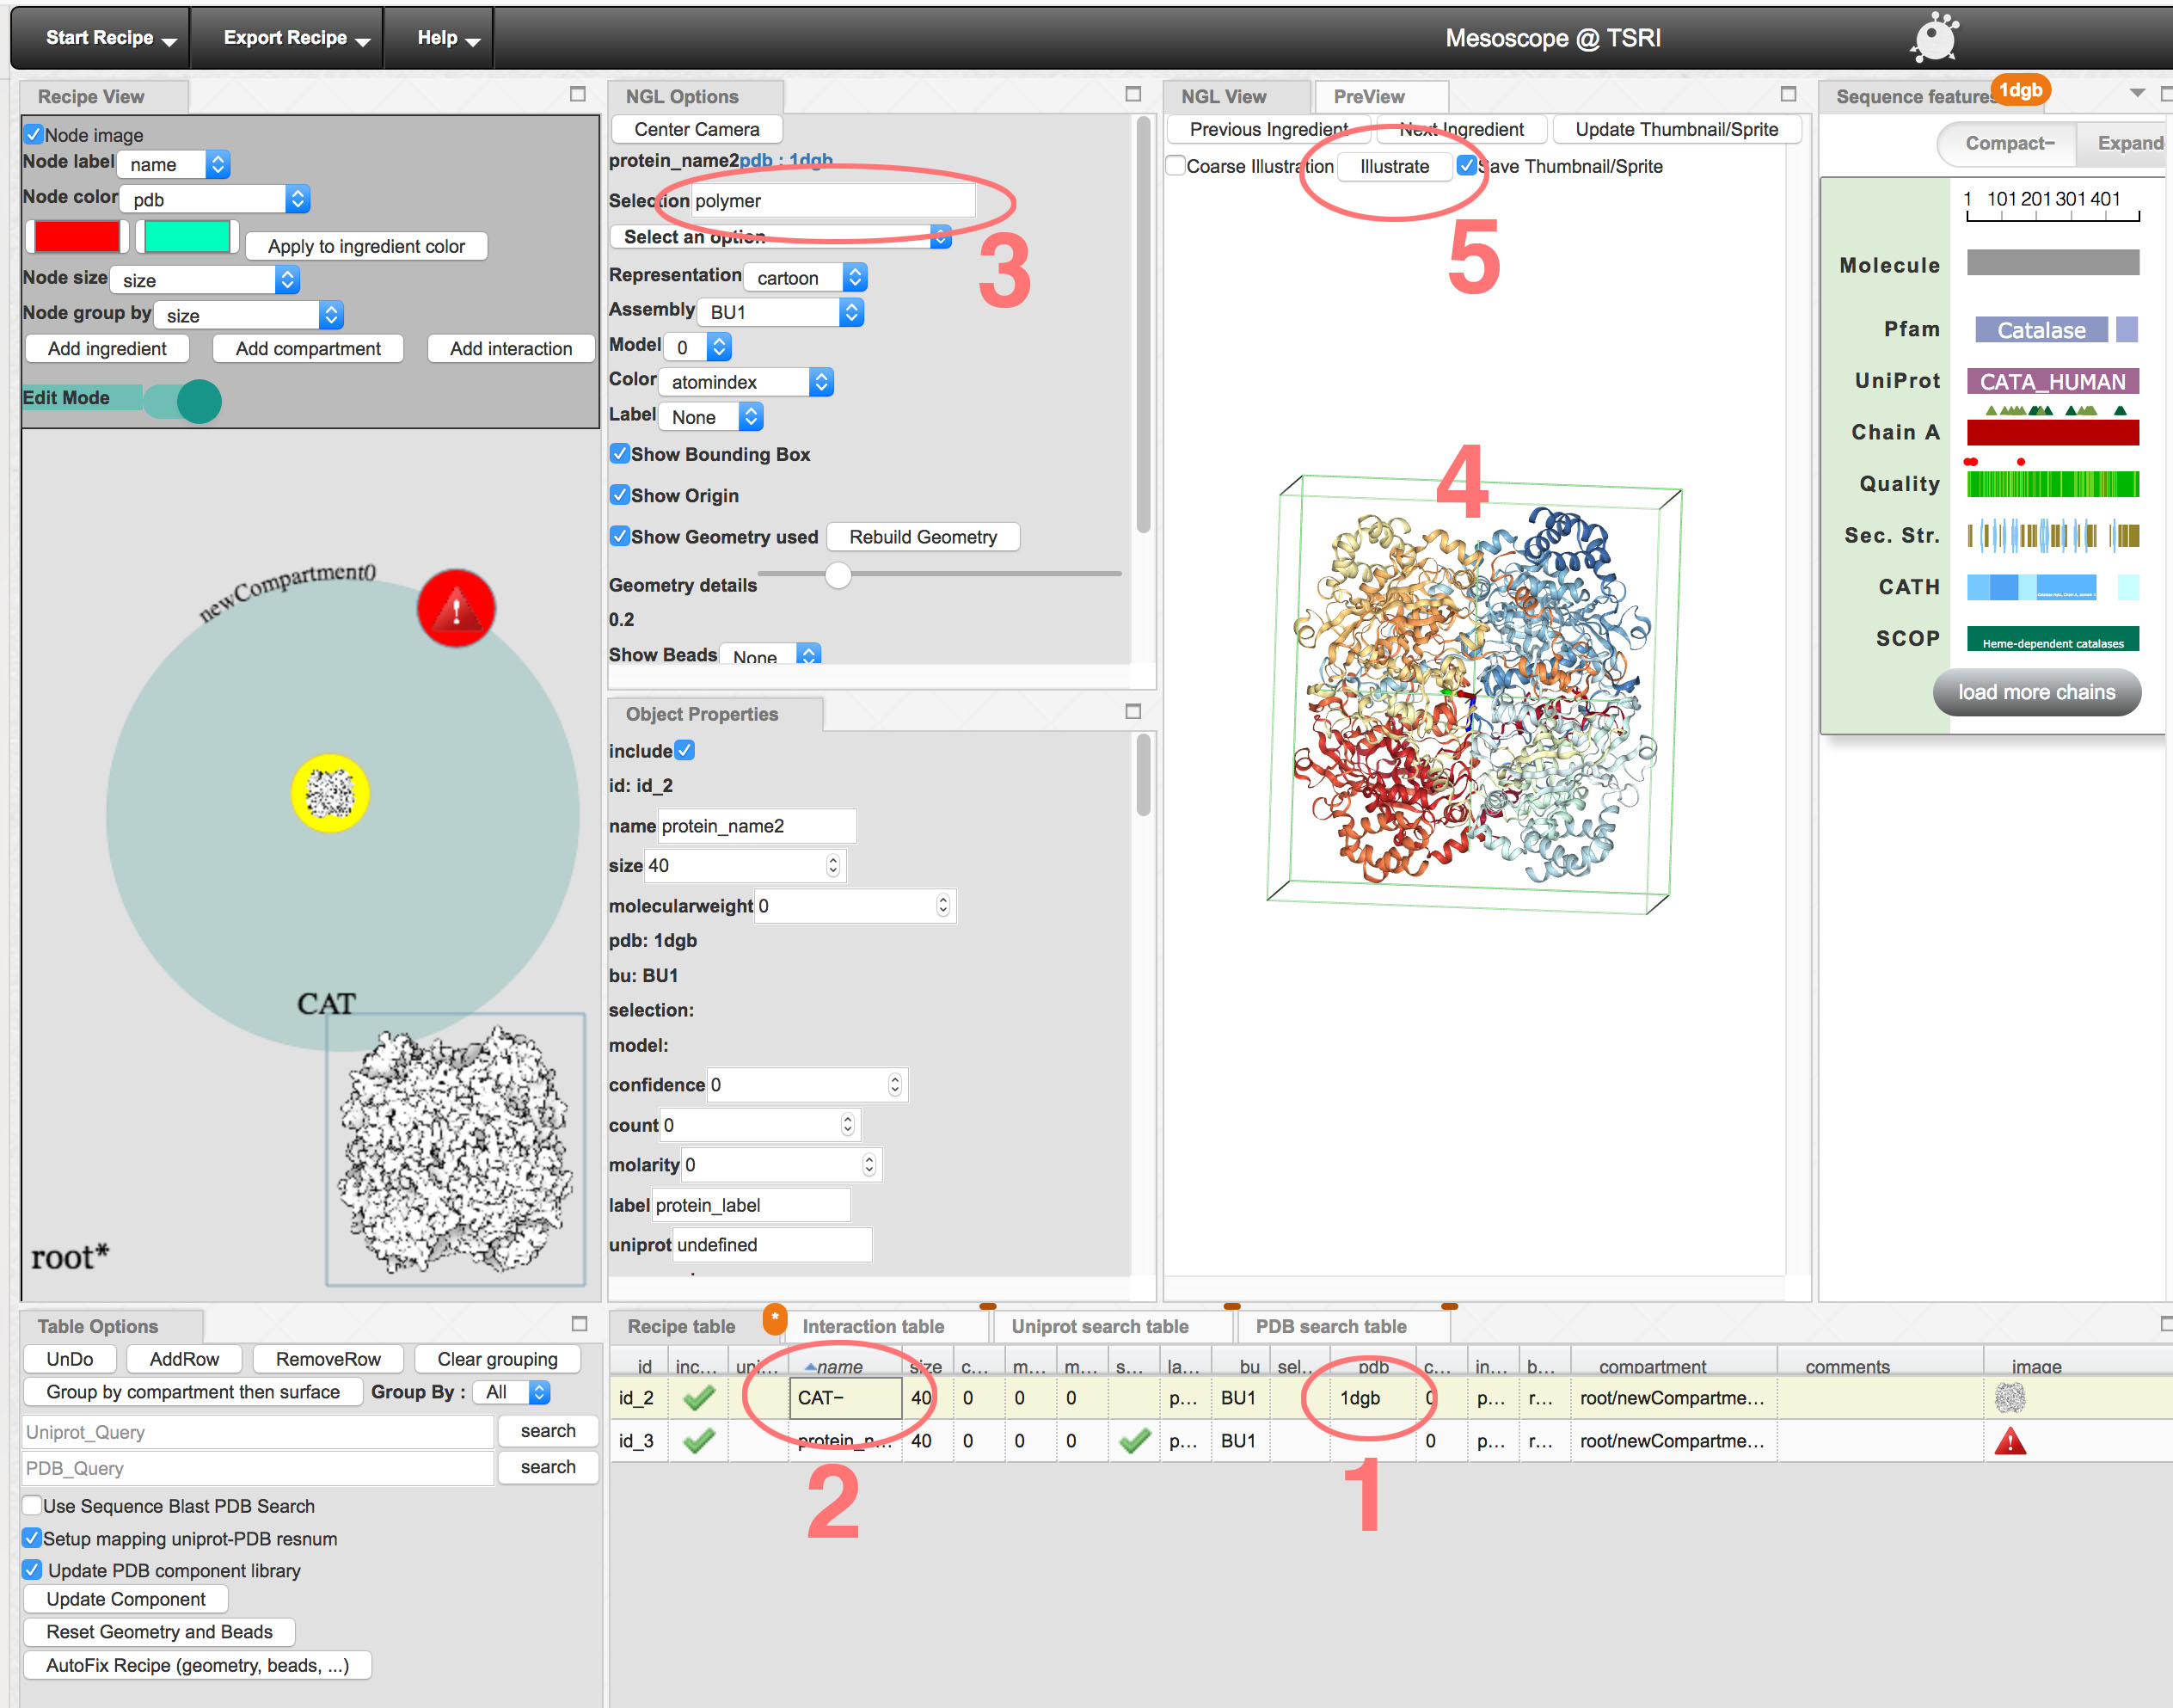
Now we can specify PDB files for each ingredient. A very simple process is shown here. Mesoscope as many other options that can be used to find and curate your structures.
- double click in the “pdb” column of the spreadsheet, and type in the PDB ID: 1dgb.
- type a descriptive name in the “name” column: CAT
- if you specify “polymer” in the selection box, it will omit water molecules from the sprite
- orient the molecule using the NGL viewer
- click the “Illustrate” button. After a minute or two, Mesoscope will ask you to save the image file
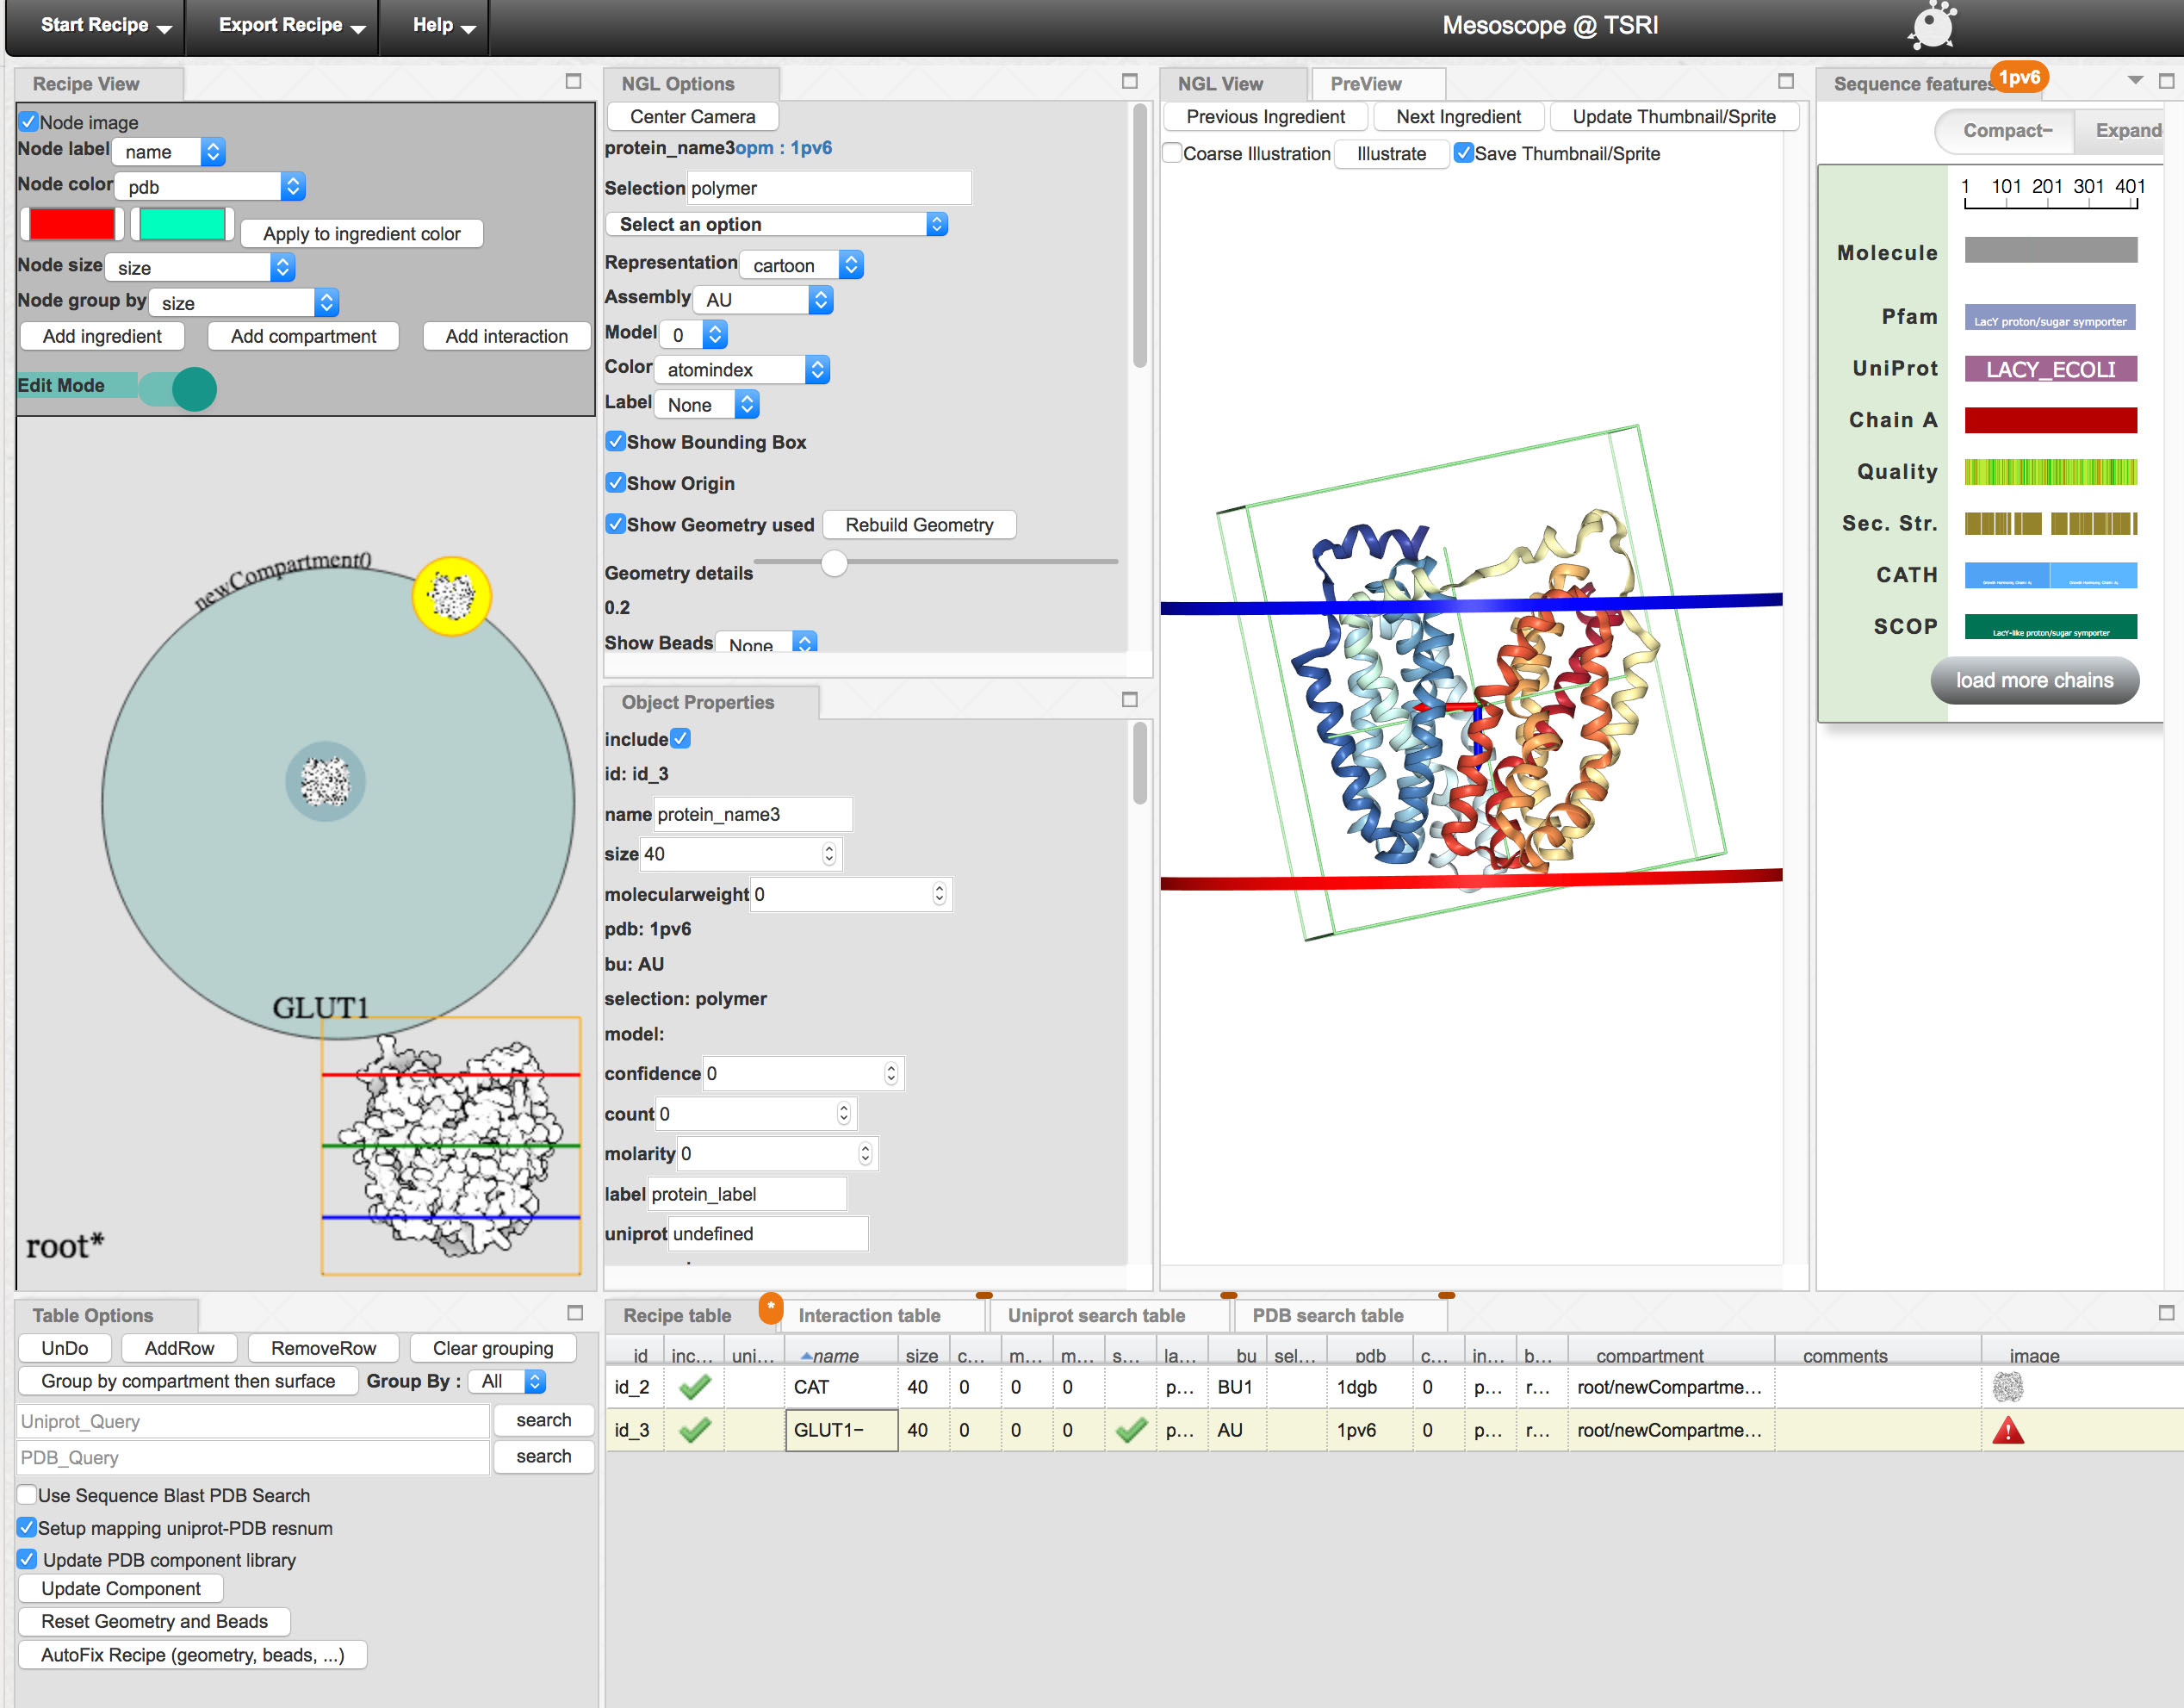
Now do the same thing for the membrane-associated ingredient:
- input 1pv6 in the “pdb” column. Mesoscope will pick up the membrane location from OPM, and show the membrane with a blue and red disk
- change the name to “GLUT1”
- type “polymer” into the select box
- orient the molecule so that the membrane is horizontal
- click “Illustrate” to generate and save the sprite
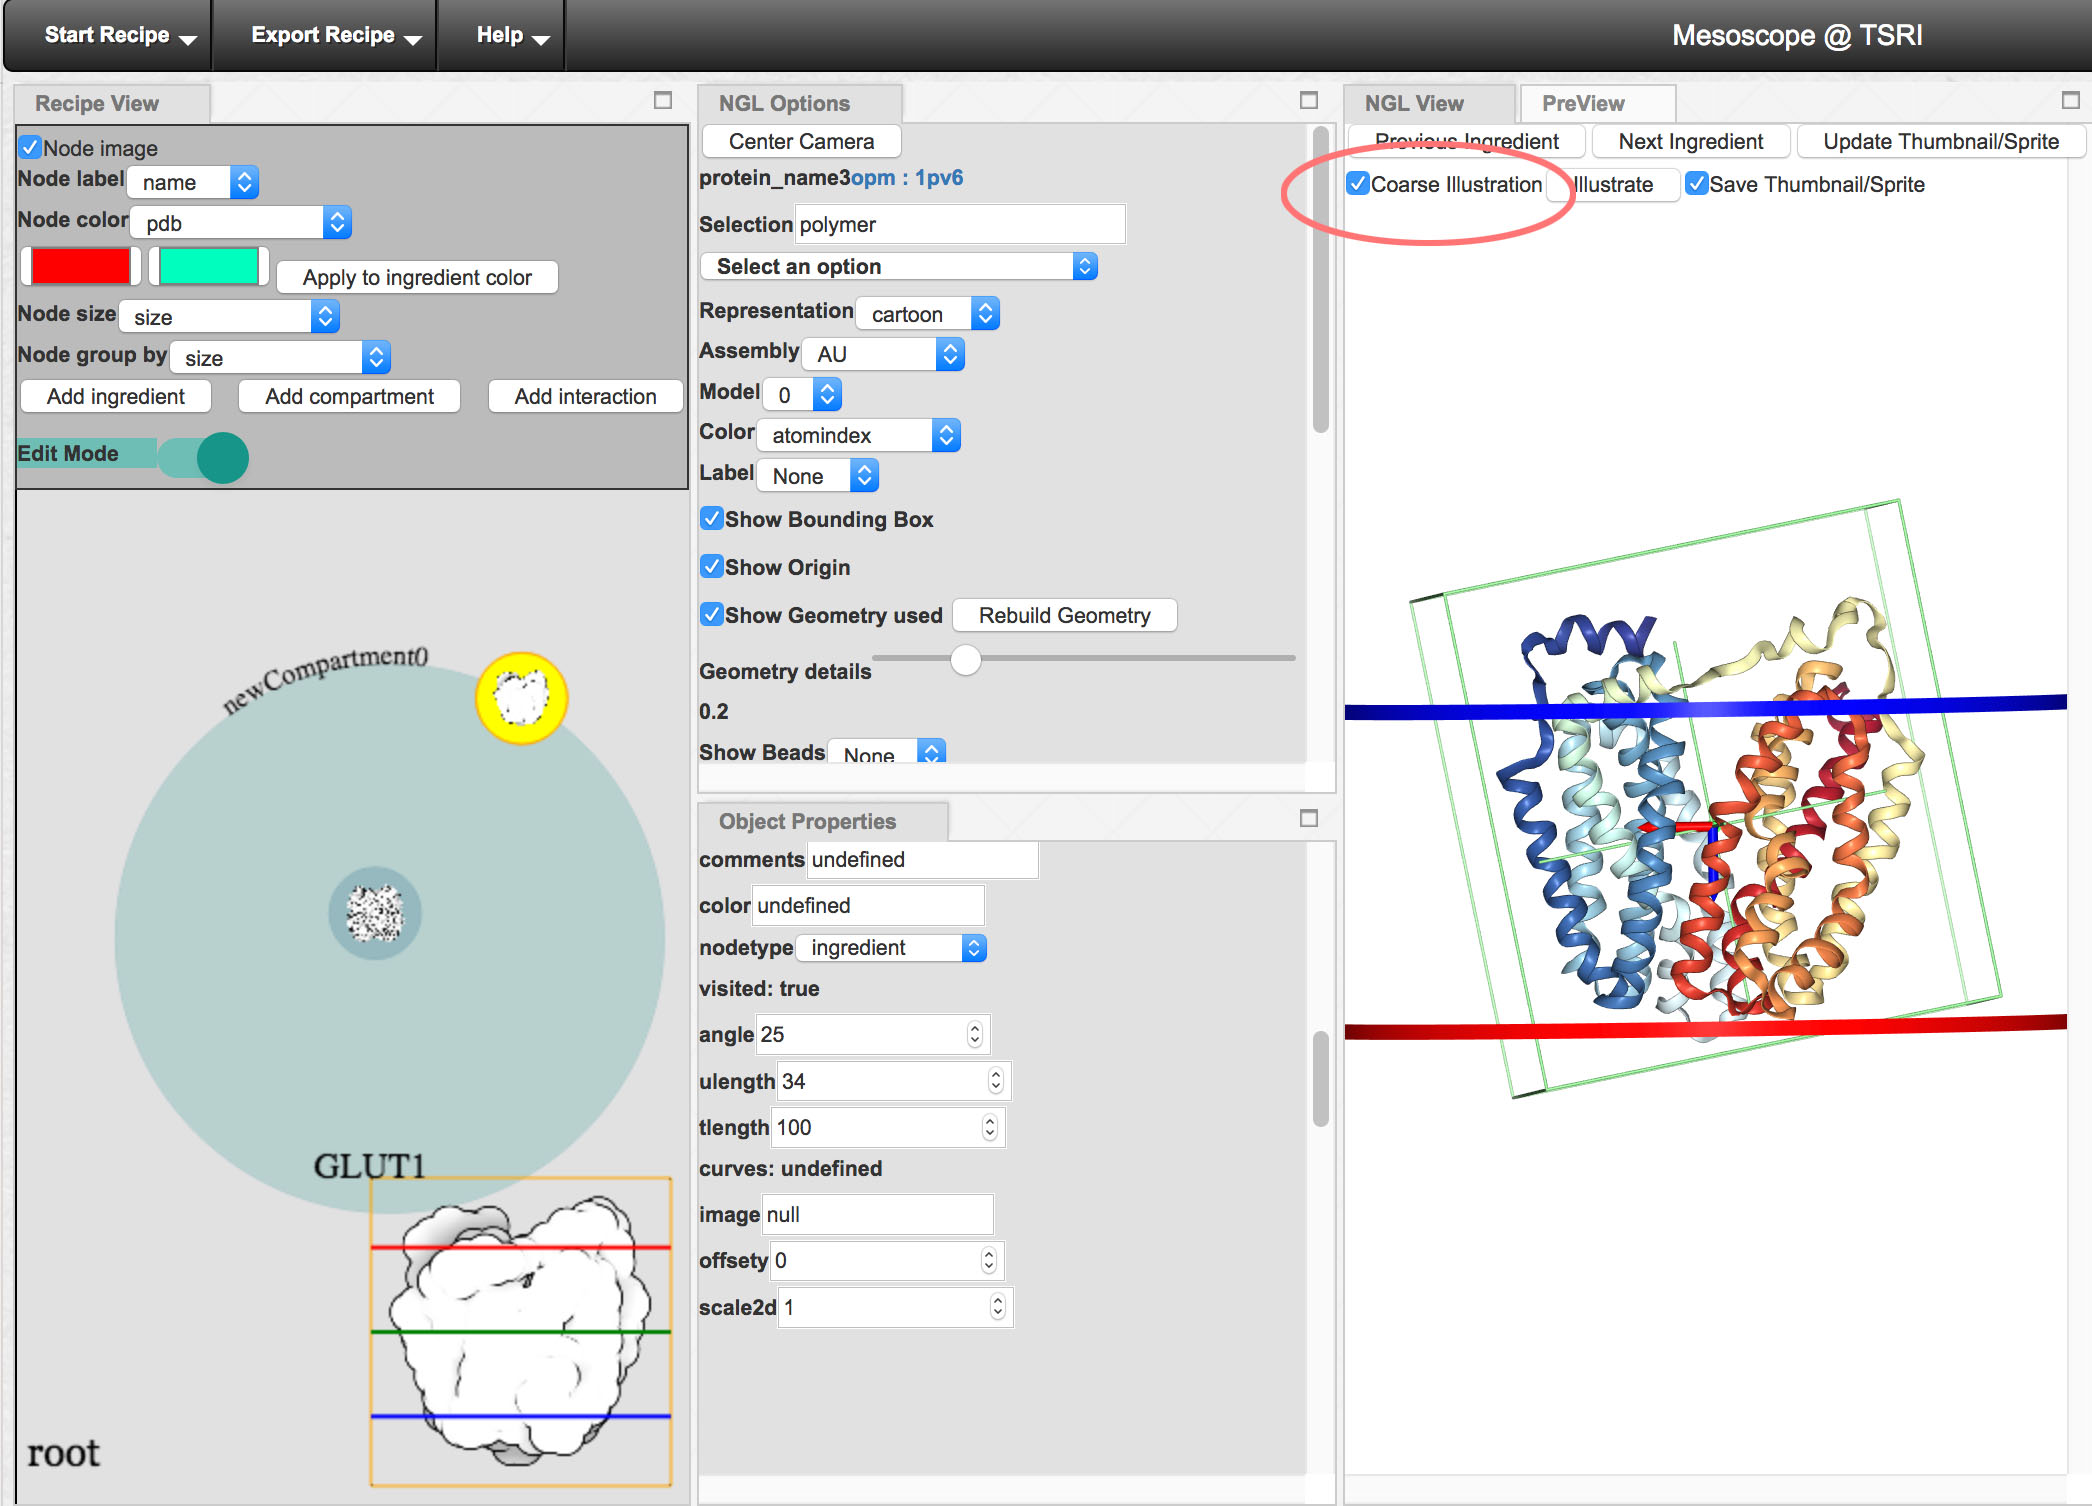
You can also use the “coarse illustration” option to create a smoother illustration of the molecule
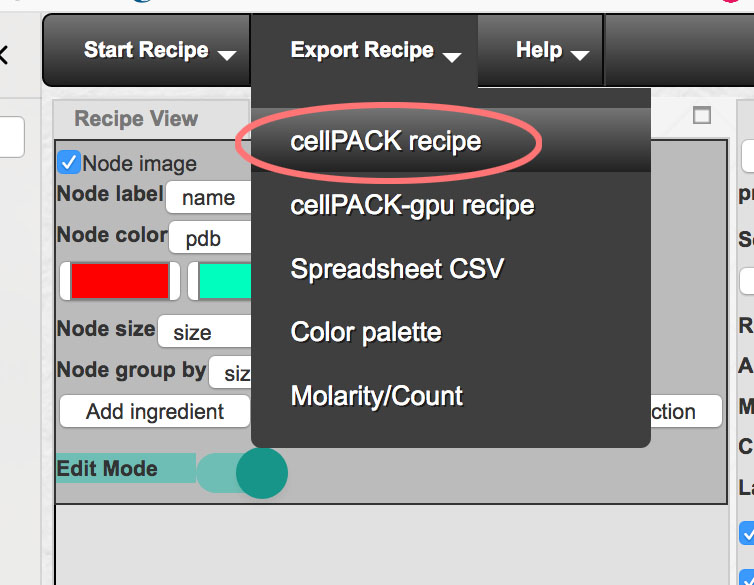
When all molecules are specified and sprites have been illustrated, export the recipe using Export Recipe->cellPACK recipe. This will write a .json file.
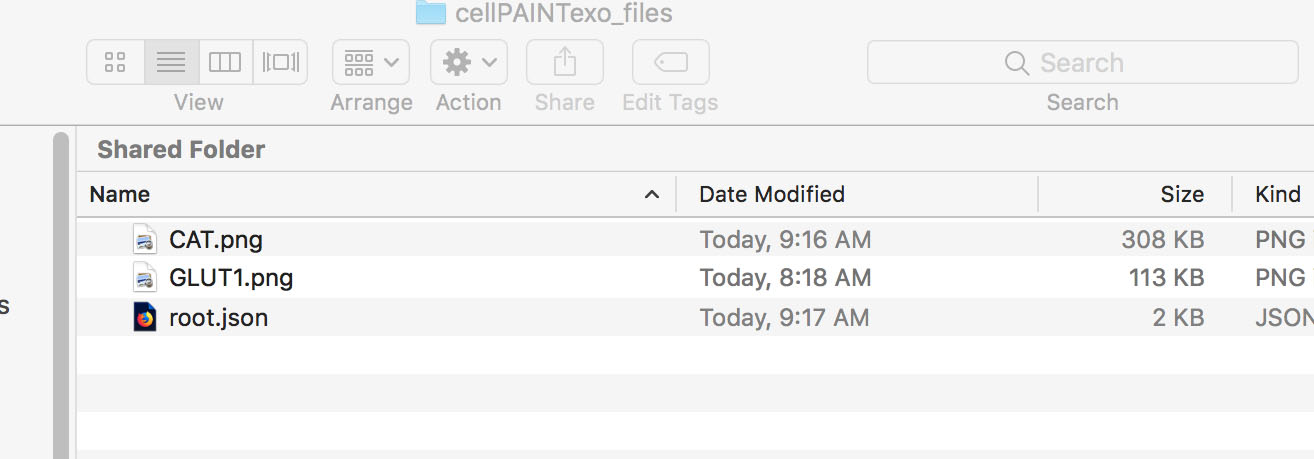
Put the .json file and all of the sprite .png files in one folder on your computer.
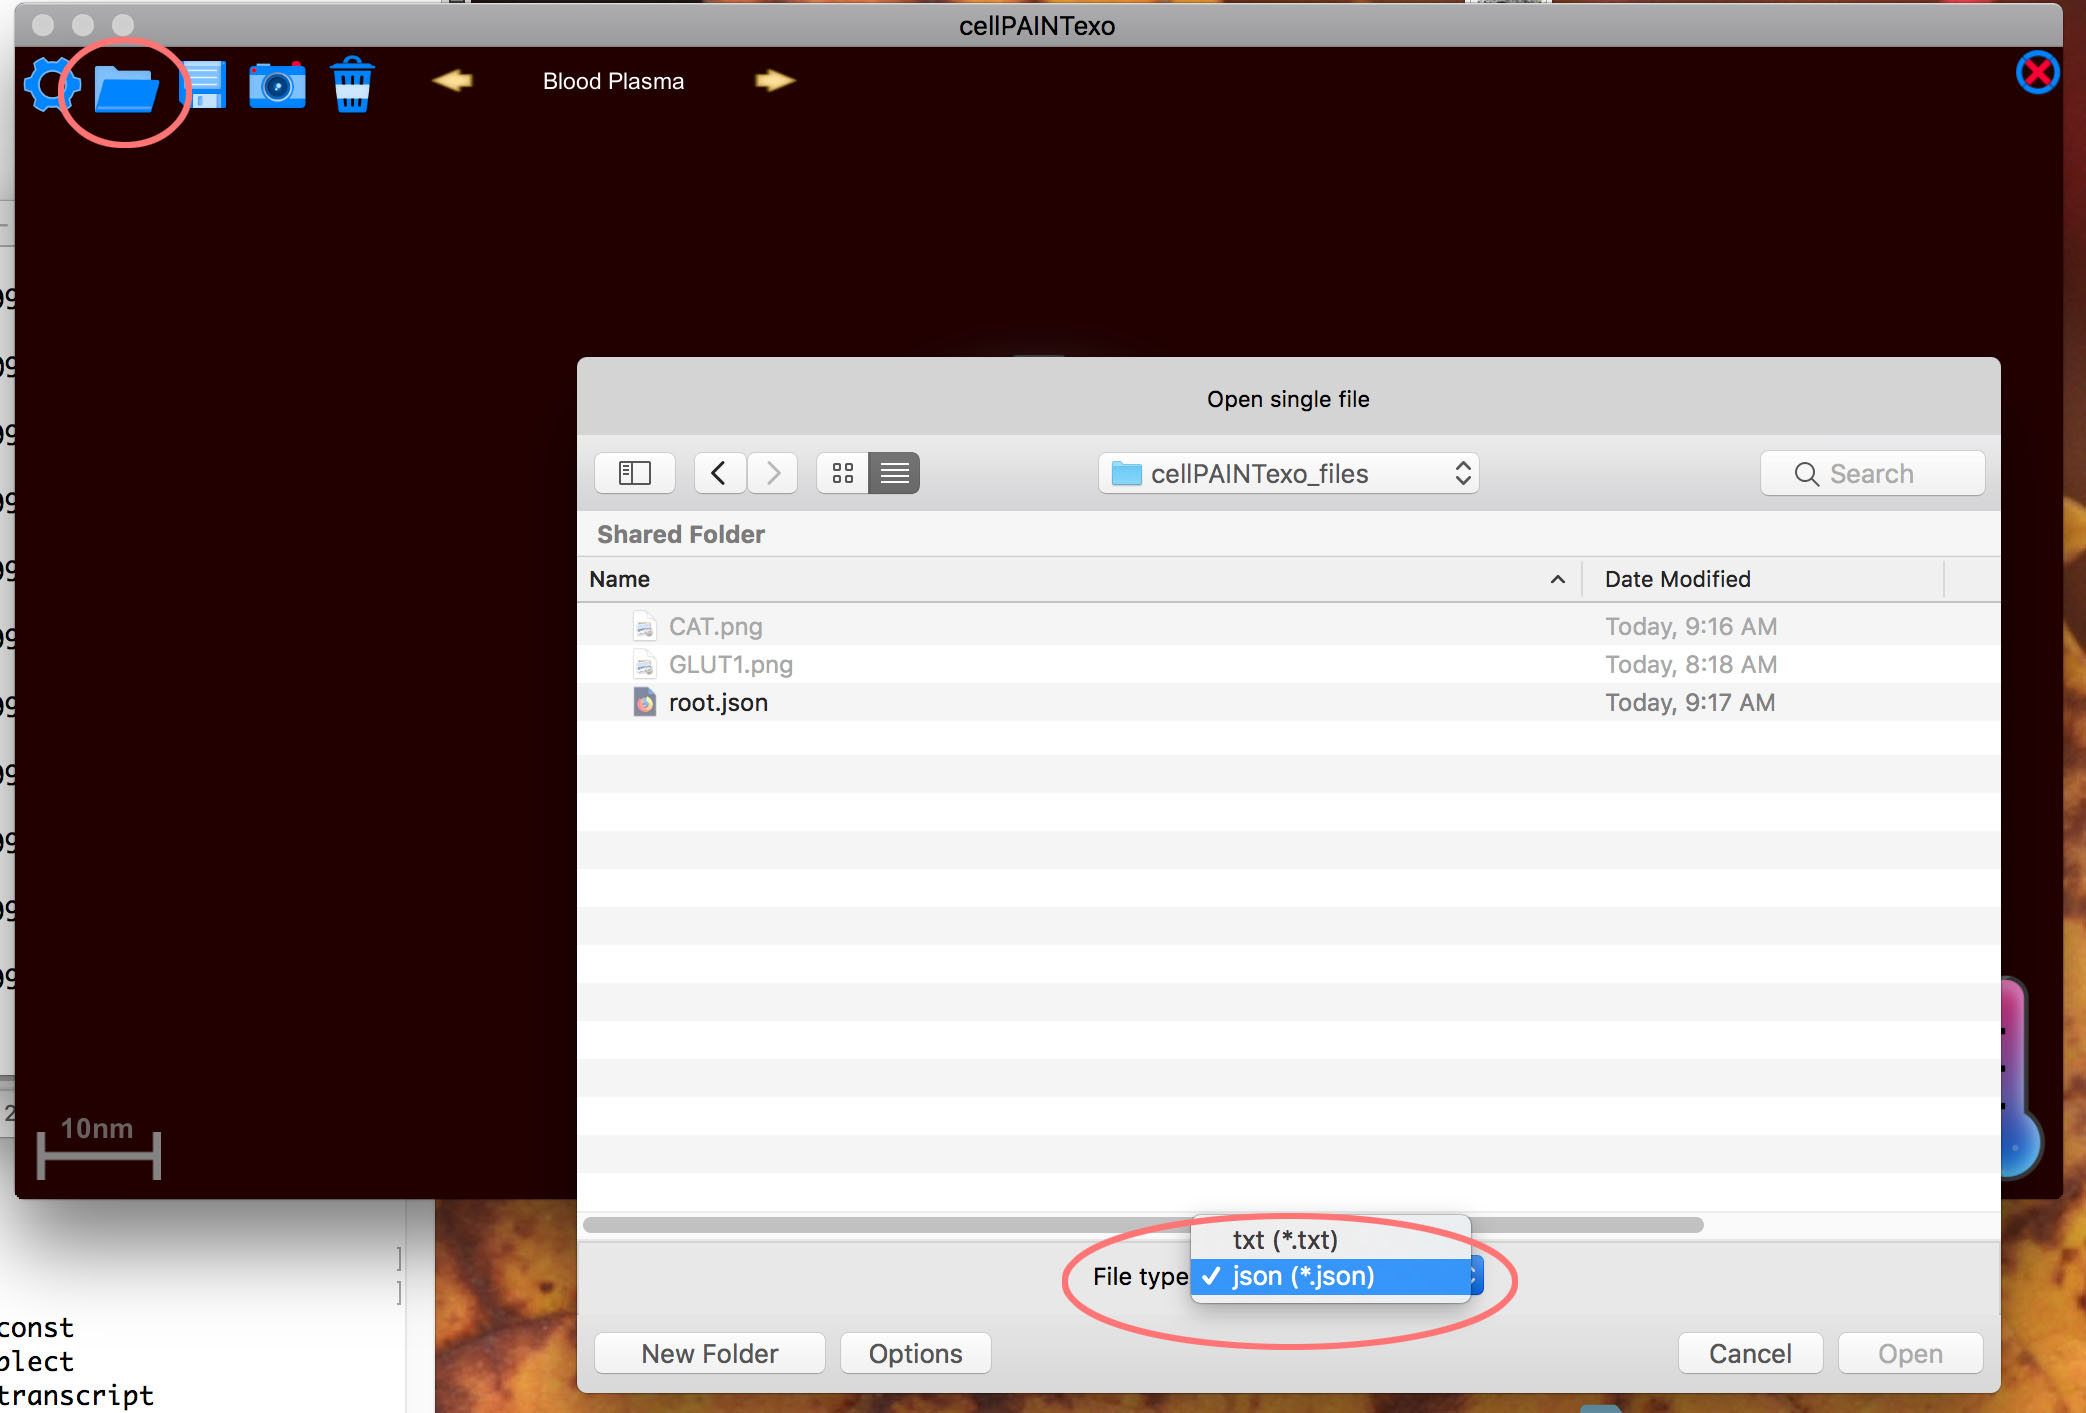
Now we’re ready to read the files into cellPAINTexo. You can get the program at https://sourceforge.net/projects/cell-paint/
Use the little folder icon to open the .json file. You’ll need to specify the file type at the bottom of the popup window.
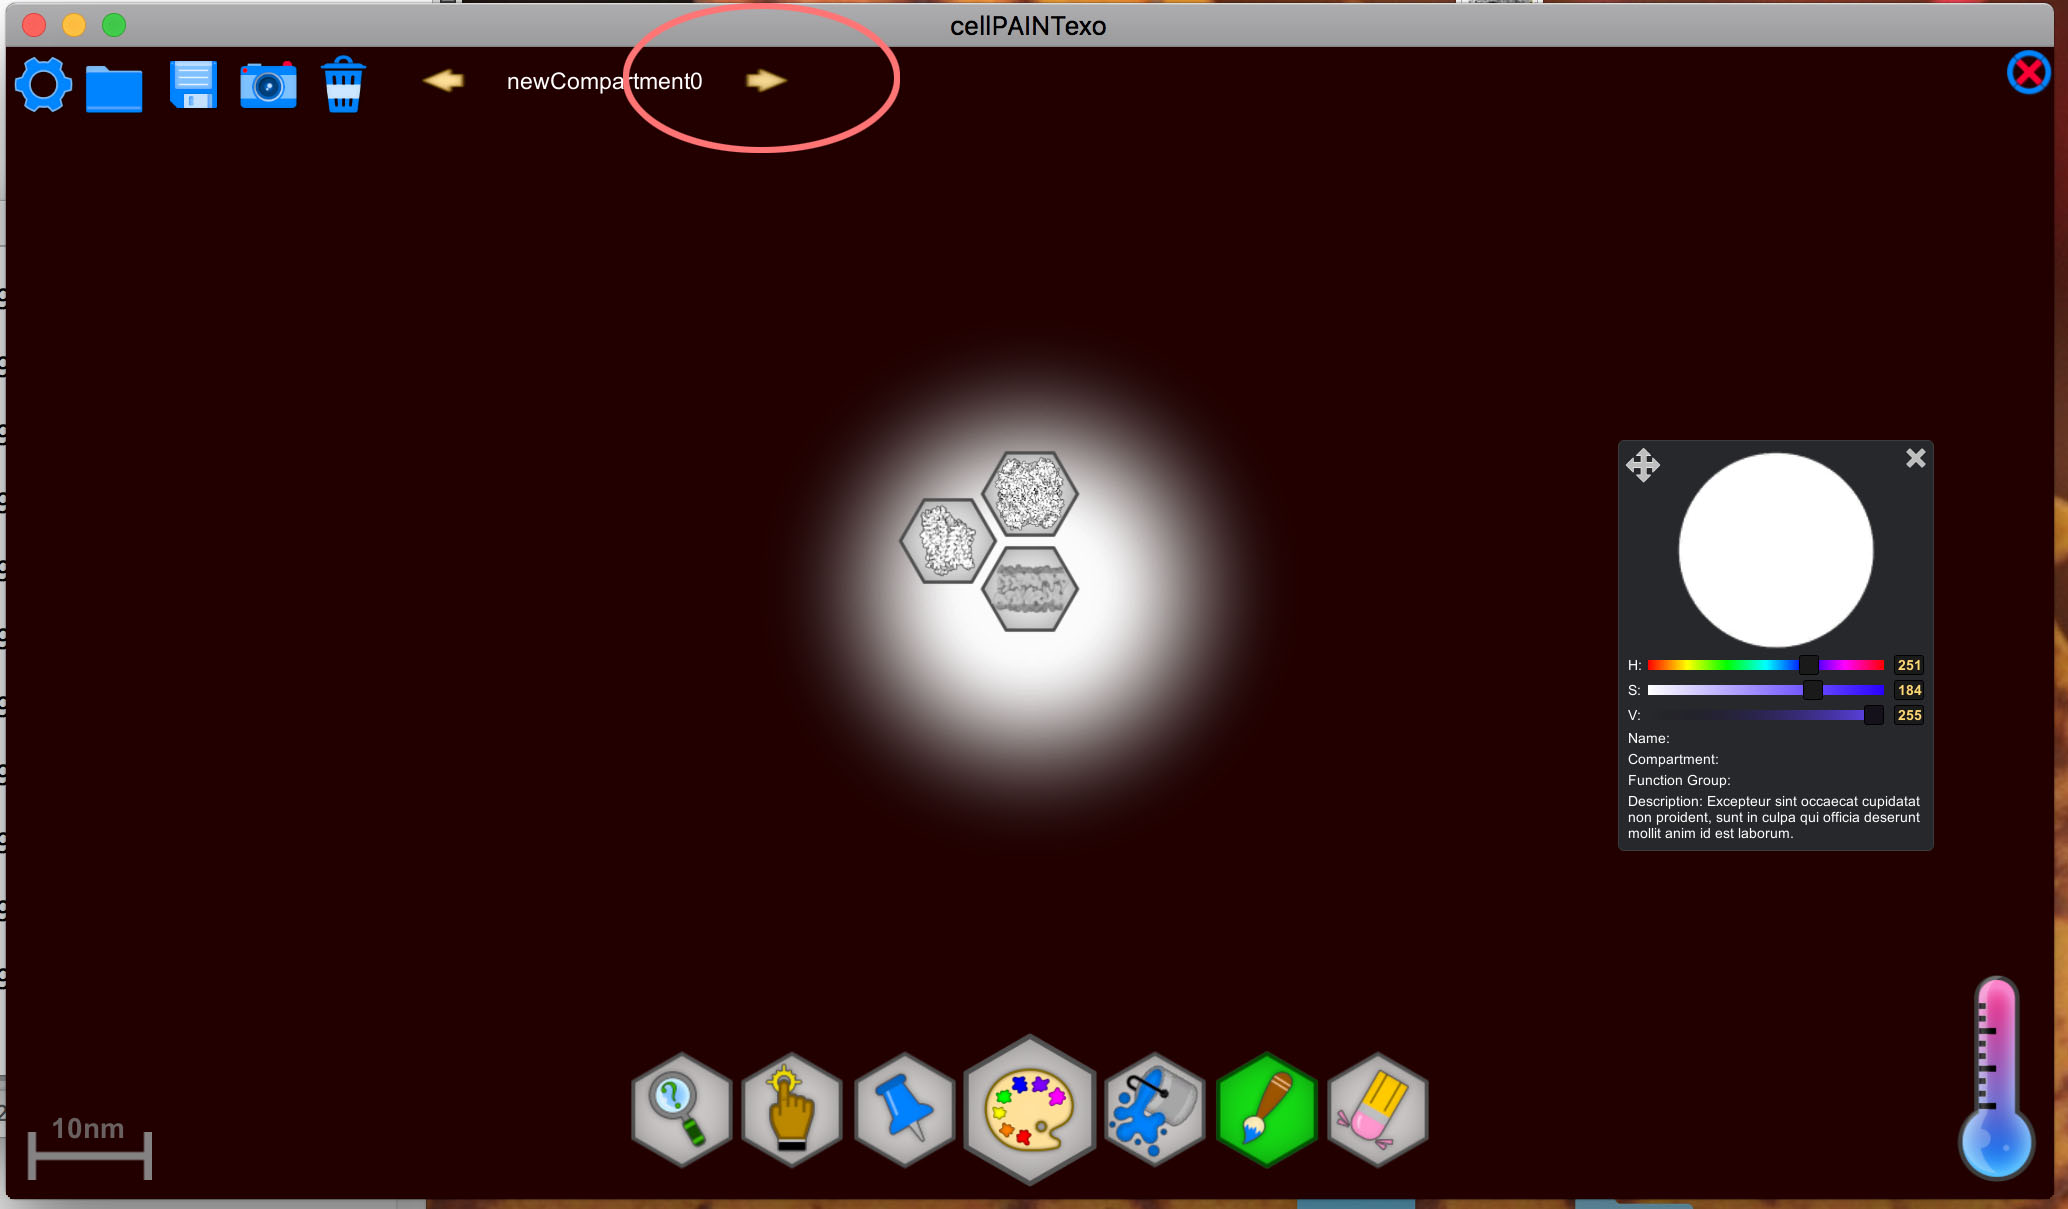
You’ll need to click on the little arrow at the top to navigate to the new sprites and compartment. You should find a membrane sprite, and the two new ones.
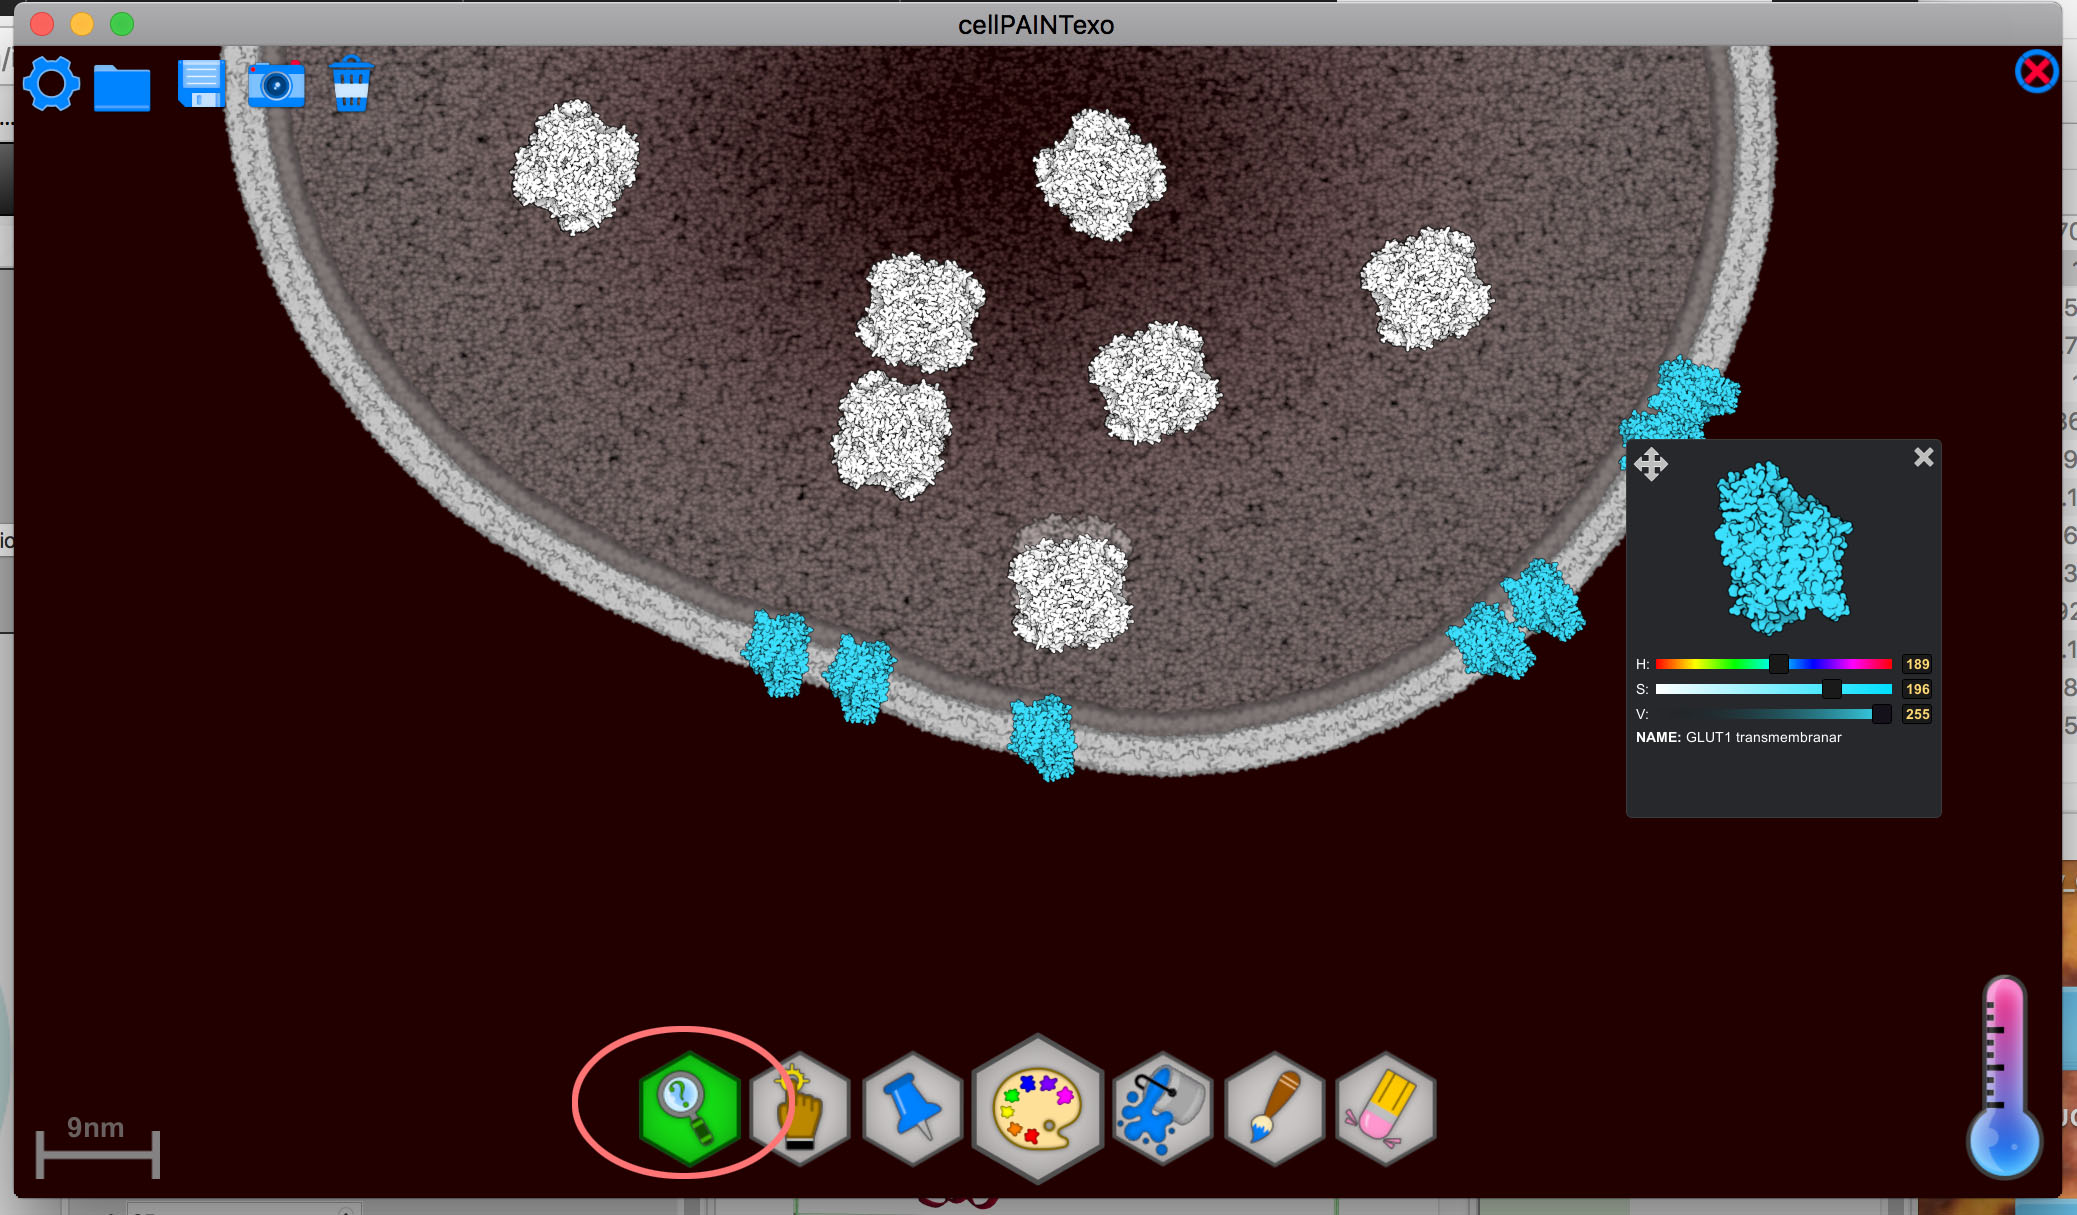
You can change the colors of the sprites by selecting the little magnifying glass, then clicking on a sprite in the image. This will pop up a window with color sliders. You’ll need to start with the saturation (S) slider first.